- HubPages»
- Home and Garden»
- Gardening»
- Planting Flowers
How To Transplant Herbaceous Perennial Plants - Part 3

Digging Up A Clump
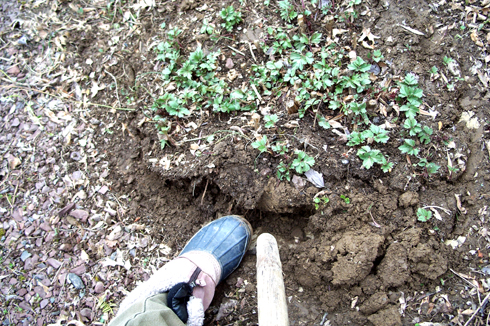
In the previous article (How To Transplant Herbaceous Perennial Plants - Part 2), we found and prepared the new location for the plant we were transplanting, and began digging around the plant to remove it from its present home. At this point, consider the size of the clump you are removing and decide if you want to move it all into one spot, or divide it into two or more new plants. (In the next article I will cover the situations when you do not wish to divide a plant.)
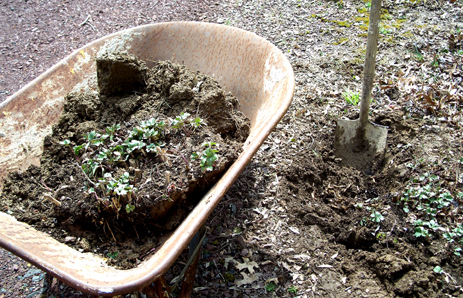
Whether or not to divide will depend on the size of the existing plant as well as the size of the place to which you intend to move it. In this case, once I had cut around the false sunflower clump I realized I’d need to divide the plant into at least three clumps in order to move it. This decision was based on the size of the existing clump and my physical limitations: hoisting more than a third of the plant once I’d gotten it out of the ground would not be possible for me alone. Had I had help with this project, I may have moved the entire plant, although as I considered my options I thought of several places I could use a sturdy, very tall, late-blooming plant like the false sunflower, so dividing it became the new plan. Because of this choice, I then stopped working on the existing clump and dug two more holes where I wanted to relocate the new clumps.

Moving A Clump To A New Home
Planting The Clump
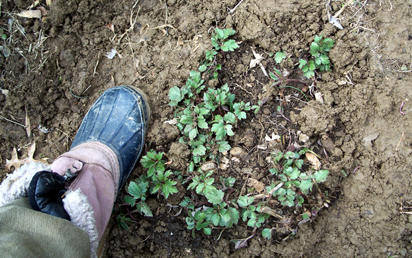
Water each clump thoroughly, then do it again. The biggest threat to a moved plant is the presence of pockets of air among its roots. Tamping the soil well and watering thoroughly will help eliminate that threat. Only after your plant is well-settled in its new home should you go back to the hole from which you removed it and backfill it, using soil left in the wheelbarrow and any additional topsoil needed to complete the chore. Depending on the weather, water the moved clumps every rain free day for the next week, then every third day for the next three weeks, being careful not to over-water and drown the plant. The amount of water needed will vary widely depending on your garden soil, but the goal is to have moist but not sodden ground and to never allow the soil to completely dry out. You have successfully moved and divided your plant; relax and enjoy, knowing you’ve given it the best start possible in its new home. Next, I’m going to discuss dividing perennial plants in more detail, offering some advice on which plants benefit from periodic division and which do not.
Copyright © Roberta Lee 2012. All rights reserved.
(I am an artist and the author of the Suburban Sprawl series of novels as well as two nonfiction books. Find out more about my work at RobertaLeeArt.com.)


