- HubPages»
- Home and Garden»
- Gardening»
- Planting Flowers
How to Divide Herbaceous Perennial Plants - Part 3

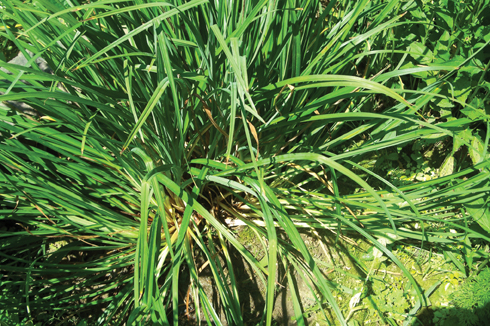
Stella D'Oro

In previous articles in this series I explained the ‘why’ and much of the ‘how’ of dividing herbaceous perennial plants. Full summer brings with it the bloom cycle of one of my favorite family of herbaceous perennials, the daylilies. I have over twenty varieties in my gardens, in colors ranging from pale yellow through intense orange, right up to deep raspberry, and in an equally wide variety of sizes, shapes and growth habit. One of the earliest to bloom is the brilliant yellow Stella D’Oro, whose tightly cupped flowers are carried on short stalks, creating the effect of a neat mound of color. Many of my daylilies have grown too large for their space, especially Stella D’Oro. I am going to divide the clump, transplanting some chunks elsewhere, and potting some in order to share them with gardening friends. Let’s go through the process step by step.
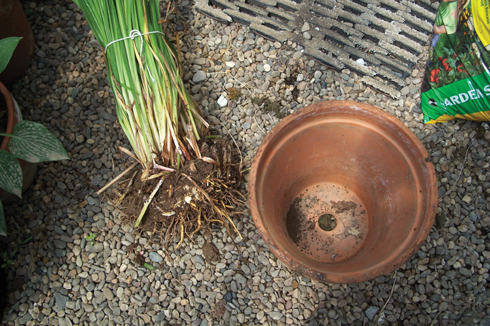
First, prepare a pot of the appropriate size by placing a shard of broken pot over the hole in the bottom and filling the bottom ¼ or so with potting soil. Water the pot thoroughly.
Tie The Segment You Are Dividing Together
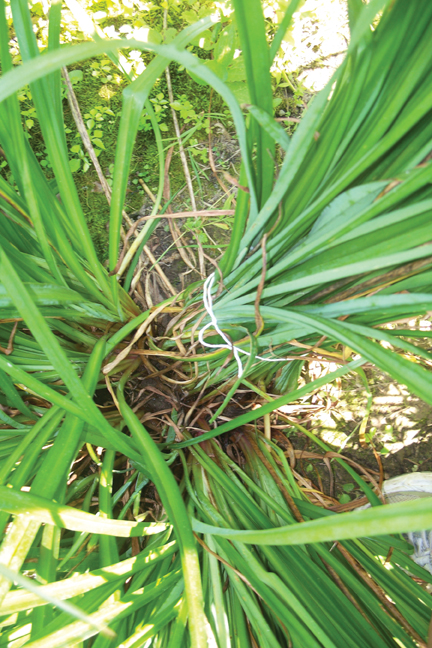
Next, reach into the plant and separate several fans of growth, a wedge of the mother plant that you will be taking. Tie the leaves of this segment together. Then tie the rest of the plant snugly together, as well.
Tie The Remaining Plant Together
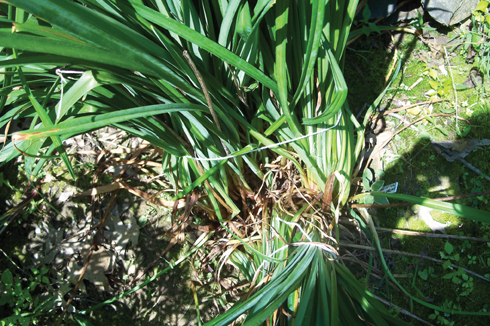
Using large scissors, cut the leaves of the section to be divided off to about 1/3 of their total height from the ground. As I explained in earlier chapters, this is to help minimize transplant shock by reducing the surface area of the leaves, from which plants respire and therefore lose moisture. During the division process, you will be pruning the plant’s roots, so you need to prune the leaves in proportion to that root pruning.
Cut The Leaves Short
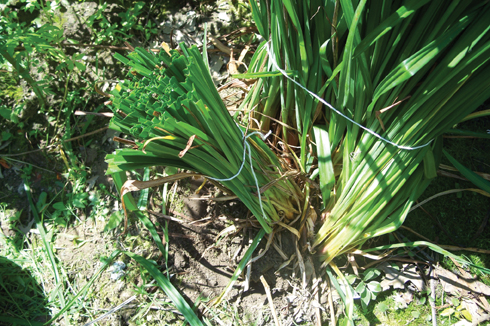
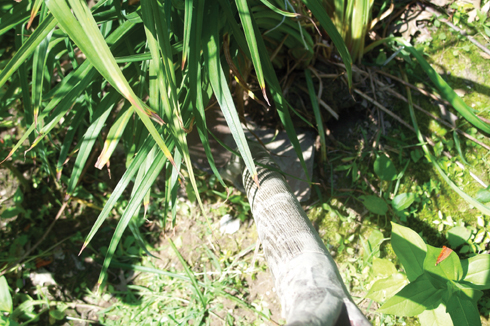
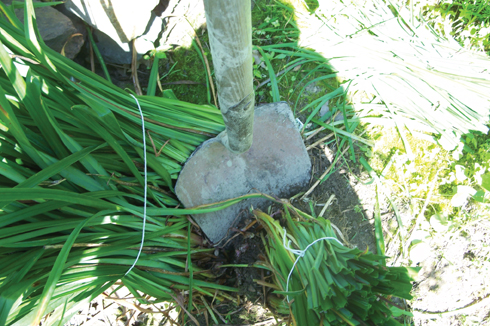
You're Going To Need A Good, Sharp Shovel

Using a sharp shovel, dig first along the outer edge of the section you will be lifting. Then thrust the shovel into the mass of the plant, cutting that section off. Finally, pry the new plant out of the soil.
Pry The New Plant Out Of The Soil
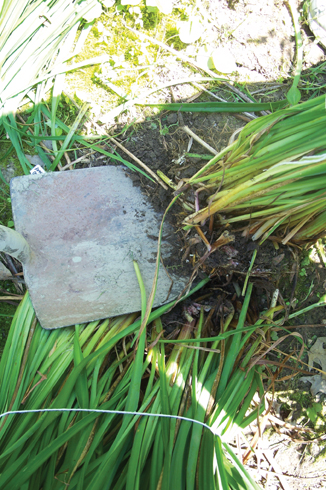
Lift The Plant Upward
Keep Lifting Until The New Plant Is Free
Moving as quickly as possible, place the new plant into the pot you’ve prepared, packing more potting soil tightly under and around it. Do not be afraid to pack down the potting soil, using your first and the side of your hand to get good contact between the roots and the soil. It is very critical to the success of the project that this be done quickly. Water the new plant, really soaking it.
Put The Plant In The Pot And Water It
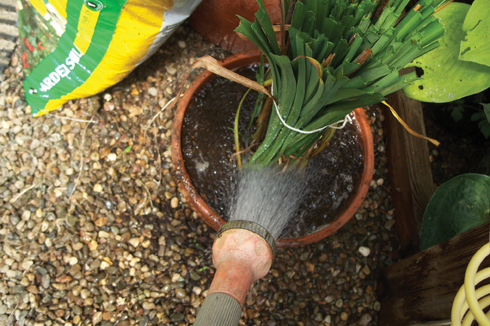
Place the pot in cool shade, even if the plant you have divided is a sun-lover, as is Stella D’Oro. You will be keeping the pot in full shade for at least 48 hours and you also need to keep it well watered.
Your New Plant

Backfill Soil Around The Mother Plant
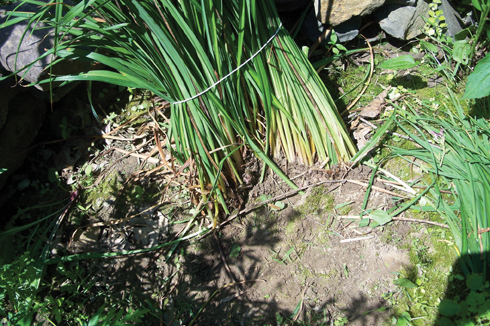
Now go back to the mother plant and backfill the hole from which you removed the new plant, using soil scraped from the area, packaged garden soil or compost. Tamp the soil down firmly with your foot and soak the plant, giving it a nice, deep watering.
Untie the mother plant and fluff out its leaves. It will fill in the area where you removed the new plant and by next summer no one will be able to tell it was divided!
Copyright © Roberta Lee 2012. All rights reserved.
(I am an artist and the author of the Suburban Sprawl series of novels as well as two nonfiction books. Find out more about my work at RobertaLeeArt.com.)
Untie And Fluff Out The Mother Plant